Showing posts with label lemon. Show all posts

Thursday, February 16, 2012

Lemon Blueberry Bars

I'll be the first to admit I'm a dessert-aholic, but mostly with chocolate. I married into a European family, meaning that the chocolate I've fallen in love with can only be found overseas or in Canada. While I still won't turn down a Hershey's Kiss or a Reese's Peanut Butter Cup. But my brother-in-law knows to pick me up a Yorkie Bar and a Flake Bar when he's out of the country (right, Steve?!).

My husband, though, prefers fruit-based desserts. He's a huge fan of those fancy fruit tarts you see at Whole Foods and loves key lime pie, apple pie, and any other kind of fruit pie. His fave, though, is lemon bars. I'm not a huge fan of lemon bars because I've always had them made from a box mix. So when Jeremiah requested lemon bars for Valentine's Day, I decided to go for a from-scratch route. I played around with a few recipes, and my family was willing be guinea pigs for a few weeks. I tried to use my own shortbread recipe but it just didn't seem to work well as a crust, so I borrowed from Allrecipes and found a winner :)


Lemon Blueberry Bars
by Girls in Aprons

Crust (from Allrecipes):
2 cups all-purpose flour
1/4 teaspoon baking powder
1/4 teaspoon salt
1/2 cup confectioners' sugar
1 cup butter, softened
1 teaspoon almond extract

Lemon Filling:
7 large eggs, at room temperature
2 cups sugar
1 cup freshly squeezed lemon juice
1 cup flour

Blueberry Topping:
1 pint blueberries, picked through for stems
2 Tbsp sugar
Juice from 1 lemon

Confectioners' sugar, for dusting

Directions:
For crust, mix together flour, baking powder, salt, and confectioners' sugar in a large bowl. Stir in the butter and almond extract, and mix into a stiff dough. Press into a greased 9x13 and prick several times with a fork. Bake at 350 degrees for 20 minutes or until starting to dry around the edges.

For lemon filling, whisk all ingredients together until blended. Pour over warm crust.

For blueberry topping, combine the blueberries and sugar in a small saucepan over low heat. Stir until the berries start to burst, using a wooden spoon to smash the berries into a sauce. Let cool slightly. Pour over lemon filling in three straight lines, then drag a butter knife through the lines to create a zig zag pattern.

Bake at 350 degrees for 30 minutes or until center is set.

Before serving, sprinkle the top with powdered sugar

Tuesday, January 17, 2012

Roasted Chicken (Your Way)

There are a few recipes that I find daunting. Souffles used to be one. Clams and mussels are another, but maybe that's because I don't like them. Ahi tuna? Forget it! Some recipes look (and are!) so tempermental, and I'm afraid to mess them up, although it has happened that I screwed up a recipe so bad that we ended up eating peanut butter and jelly sandwiches instead :)

Roast chicken was also one of those recipes. Something about "discarding the innards" threw me off. The fear of undercooking it...or overcooking it. I was just as happy cooking up chicken breasts. Until I finally got brave and tried it. It is So. Surprisingly. Easy! And, best yet, you can make it however you want. I prefer lemon and fresh herbs, the lemon seeps through the whole chicken, giving it a light citrus taste, and the herbs make it taste fresh and flavorful. I generally use thyme or rosemary, but basil would be great too, or anything else you're just giddy to try.

The chicken and its friends. I got this whole chicken (about 3-4 lbs) at Target for $4 and, get this...the "innards" were already removed! Bonus!


Rosemary is my favorite herb to use. It's so fragrant and woodsy and amazing.

This is one of my FAVORITE items in my kitchen. My mother-in-law was dejunking a few years ago and came across this Le Creuset pot that she never used. These babies run at over $200 each! It is amazing for Sunday roasts and other recipes that call for a dutch oven.

Usually I roast the chicken with some onion halves at the bottom (it helps keep the bottom from burning if the chicken isn't sitting directly on the bottom of the pot) but my husband has this obsession with fennel. He grew up snacking on it, while I never even heard of it until a few years ago. It's also known as anise, and yes, it tastes licorice-y. To prep it, you cut off the fronds (which would be great as a replacement for rosemary in this chicken), cut the bulb in half, and cut out the thick stem part (picture 3 of the fennel). Isn't it a beautiful vegetable?!


Slice up the lemon, keeping the ends to put inside the chicken. The slices will be set between the chicken and the skin, which will allow the lemon juice to get into the meat. You could even use limes or oranges if you so desired.

Stuff the lemon ends, some rosemary springs, and a few fennel slices into the cavity of the chicken.

Separte the chicken meat from the skin and slip lemon slices and rosemary sprigs (or whatever you are using) around the front, sides, and underneath the chicken.


Place the chicken in a large oven-safe pot and brush with olive oil and salt and pepper. I omit the salt and pepper because we don't eat the skin. I discard it before serving, but brushing it with olive oil helps keep the chicken moist.

The finished product. So good! After we are done eating, I take off the additional chicken and refridgerate it. I like to use it for chicken salad sandwiches, in chicken soup, or in chicken pot pies, which, just so you know, is another recipe coming up in the next week or so.

Roasted Chicken
by Kelli Lafranca

1 whole chicken, 3-4 lbs, innards removed, chicken and cavity rinsed and dried
1 lemon, sliced
9-10 springs rosemary, or other herb
2 onion and/or 2 fennel bulb, halved or quartered (you could also use carrots)
Olive oil
Salt and pepper

Preheat oven to 400 degrees.

Place chicken on cutting board. Using your fingers, separate the skin from the meat. Slide in your rosemary (or herb of choice) and lemon slices around the top, bottom, and sides of the chicken. Stuff the lemon ends, a few herb springs, and a few slices of onion (optional) into the caviety of the chicken.

In a large oven-safe pot or dutch oven, brush the bottom with olive oil. Lay out your vegetables in a single layer and place the chicken on top of the vegetables. The chicken shouldn't touch the bottom of the pot. Brush the skin with more olive oil, and if eating the chicken with skin, sprinkle some salt and pepper on the skin, too.

Bake uncovered for 45-50 minutes, or until a meat thermometer inserted into the thickest part of the meat reads 165 degrees and the juices run clear.

Let rest for 5 minutes before carving and serving.

Saturday, December 3, 2011

Lemon Blossoms

My husband is a dentist. You wouldn't know this by looking at this blog, since I mostly post about (and prefer to make) sugary, delicious sweets. But he is one, and he makes sure I still take care of my teeth even if I like to eat candy (a lot) and cookies, cheesecakes, brownies.... now I'm hungry.

So my hubby went to dental school in Cleveland, Ohio at Case Western Reserve University School of Dental Medicine. We loved it in Cleveland and made a lot of friends. These friends also loved to have lots of parties (pretty much any time a spouse had a birthday or there was a holiday of some sort or someone was pregnant). And I was known for bringing Lemon Blossoms. In fact, I have a sneaking suspicion that the guest list went something like this: We'll invite blah, blah, blah, oh, and Carissa so she can bring her lemon blossoms. Well, maybe not really, but I know they were thinking it. :)

Technically, this recipe was introduced to me by Celeste, who made it for a church potluck and saw these babies disappear in a matter of minutes. And she was introduced to them by none other than Paula Deen. I actually saw the show where Paula made them and even though I'd made them countless times, I still wanted to see her make them. It was so fun!

You will love the light lemon flavor of these little cakes. The glaze, once it sets, makes these taste almost like a donut hole, but so much better! I made these again recently for a potluck and my kids made sure they got some before they were gone. My 2-year-old literally popped all three of hers in her mouth at the same time and then cried when I told her they were all gone. Looks like I have another batch coming soon, this time just for the family!

Your lineup. All pretty basic.
You will also need mini muffin pans. I have two, and it makes the process so much faster, but it's up to you.
Your batter. You want it to be thick so don't be alarmed that it's not runny like usual boxed cake batter is.
I use two small spoons to get it into the pans. One for scooping, the other for sliding it off the spoon. And you really only use a small amount. These rise really well. I'm guessing about a teaspoon, maybe a little more. No more than halfway full. And notice how liberally I sprayed the Pam (it works best for me). You don't want these suckers to get stuck in the pan! 
All ready to go! Notice they are only half full.
When they are done, they will have risen to the top and are golden brown on the edges. If they are underdone, they will fall apart in the glaze, but you don't want to burn them either.
For your glaze, you want to sift your powdered sugar, then add your lemon zest. Use a microplane, like this, or if you don't have one, use the small side of your cheese grater. Just zest the yellow parts, the white parts are bitter.
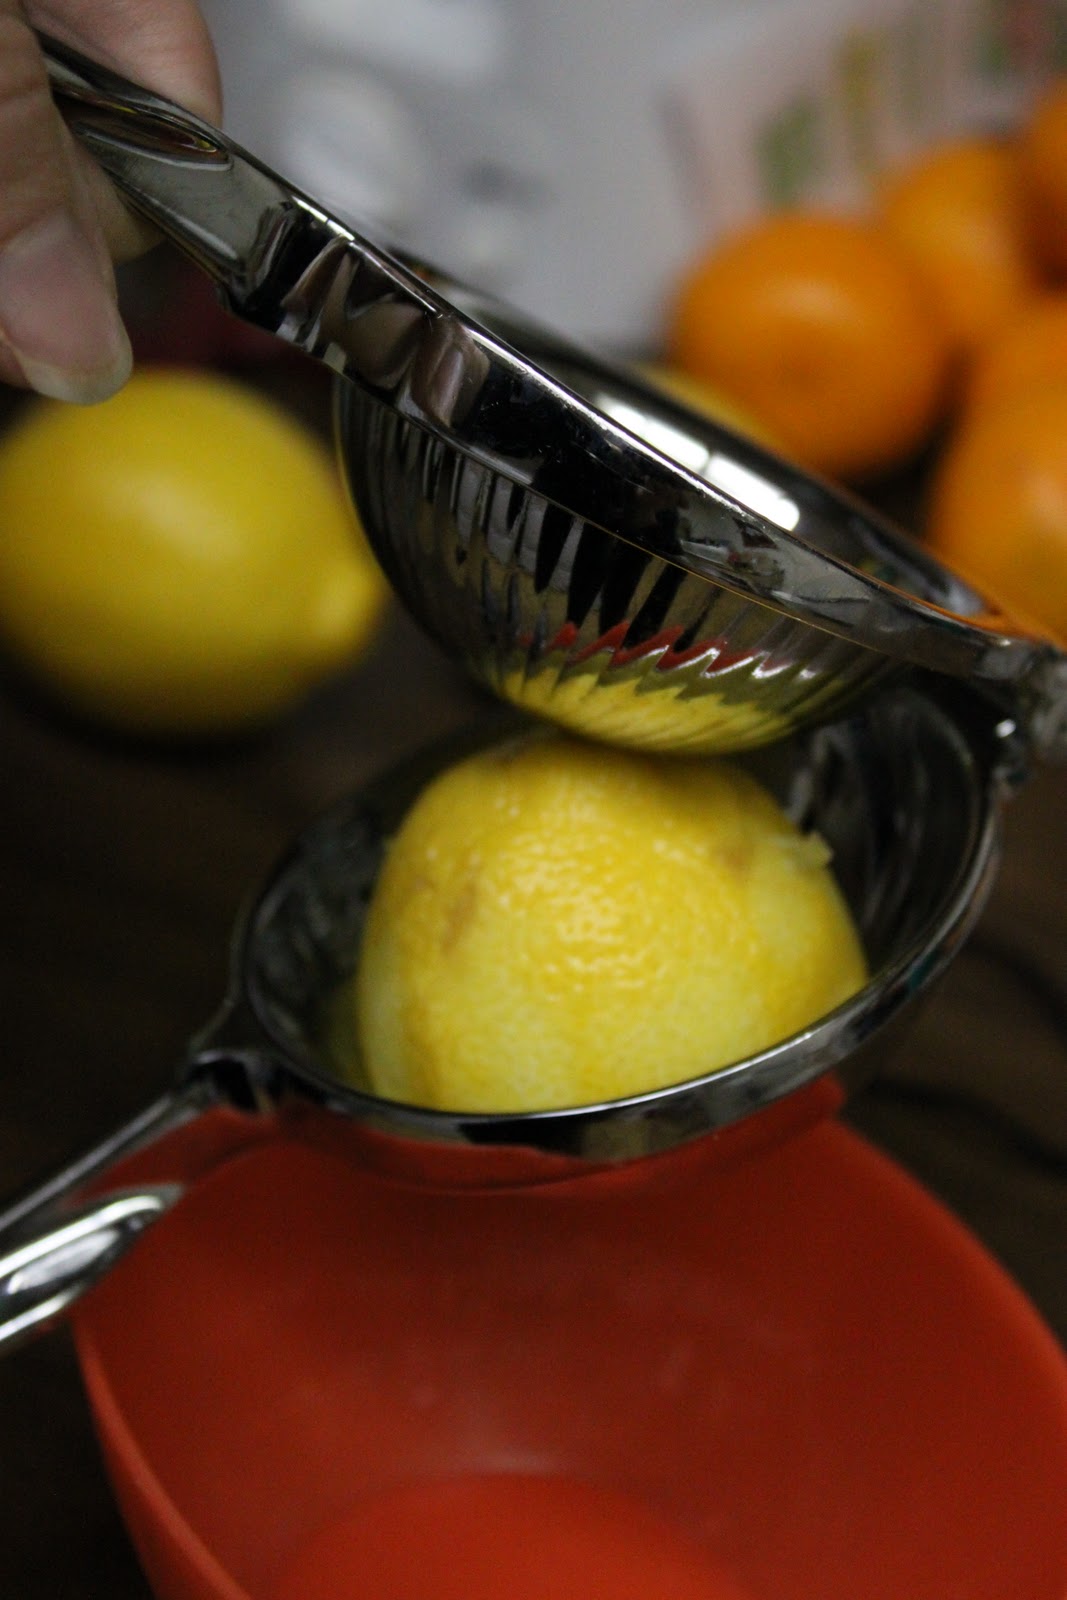
After you've zested, roll the lemon on the counter to release the juices. I have a fancy juicer thing and it's been super handy, but you can juice your lemon any way you want. Please please please don't use bottled juice. Fresh is best!
Ahh.... yummy glaze. It doesn't look like a lot, but it is plenty for your cupcakes.
I start by dipping the tops into the glaze...
... and then spreading it around the entire cupcake. If you need more, just dip your fingers in and go for it. It's a messy job, but someone's gotta do it.
Let them dry completely. If you put them in a container still moist, they will stick together. I leave mine out overnight and then put them away in the morning (before the kids get up so they can't sneak any!). My batch usually makes about 80 little lemon blossoms.

Lemon Blossoms
submitted by Carissa, recipe by Paula Deen

Cupcakes:
18 1/2-ounce package yellow cake mix
3 1/2-ounce package instant lemon pudding mix
4 large eggs
3/4 cup vegetable oil

Glaze:
1 lb confectioners' sugar (about 4 cups)
1/3 cup fresh lemon juice
1 lemon, zested
3 tablespoons vegetable oil
3 tablespoons water

Preheat the oven to 350 degrees F.

Spray miniature muffin tins with vegetable oil cooking spray (Pam works best). Combine the cake mix, pudding mix, eggs and oil and blend well with an electric mixer until smooth, about 2 minutes. Pour a small amount of batter, filling each muffin tin half way (a little more than a teaspoon). Bake for 12 minutes or until edges are golden brown. Turn out onto a tea towel.

To make the glaze, sift the sugar into a mixing bowl. Add the lemon juice, zest, oil, and 3 tablespoons water. Mix with a whisk until smooth.
With fingers, dip the cupcakes into the glaze while they're still warm, covering as much of the cake as possible, or spoon the glaze over the warm cupcakes, turning them to completely coat. Place on wire racks with waxed paper underneath to catch any drips. Let the glaze set thoroughly, about 1 hour (mine actually sit overnight because 1 hour has never been long enough), before storing in containers with tight-fitting lids.

Wednesday, September 28, 2011

Lemon Herb Pasta with Chicken

My husband and I are about as different as you can get.

I like romance movies. He likes blow-up-everything-and-hopefully-there-will-be-lots-of-blood movies.

I love shopping (yes, even grocery shopping!). He considers it a form of torture. Or punishment.

I'm a little bit country. He's a little bit rock and roll.

I love pasta. He doesn't. Wait, what??

Really, who doesn't love pasta? My husband, that's who! Seriously, if I would've known this little fact before we were married... I'm just kidding. But you don't mess with me and my pasta! Usually when I make a pot of spaghetti or homemade macaroni and cheese, I get "the look" and it is usually followed with empty threats of running to the nearest burger joint to get dinner. I say "empty threats" because he knows if he did that he'd be in trouble. But that's true love, right? Eating my pasta even though he doesn't want to? *sigh*

Anyway, last weekend my husband Bryan and I went with my sister-in-law Lindsay and my brother-in-law Dave to Friday Harbor. When Lindsay told me she was making pasta for dinner, I was skeptical because I knew I wanted it, but I didn't want Bryan to eat something he wasn't excited about. It was vacation and I was feeling nice. But Lindsay did something magical, or at least did something I haven't been able to do. She made a pasta dish that not only did Bryan like, he said something that I've waited years to hear - he told her he'd actually go to a restaurant and buy her pasta dish.

So here is the pasta dish that changed my world. Not only did my husband love it, but my boys did too. In fact, I didn't even have to threaten them to eat dinner (something that happens almost every night at the table). They ate it up, and for once I ate in peace. It's a win-win all around.
The players: aren't they pretty? I do have to admit that the parmesan cheese is missing from the picture. I'm currently not eating dairy (my baby has a sensitivity) so I omitted the parmesan cheese from the recipe, and thought it was silly to buy the cheese for the photo op. I also switched the butter to margarine - which was fine, but trust me, the butter is better! But in a pinch you can use margarine.
Melt the butter in a skillet over medium-high heat. Add the garlic, basil, and oregano. I used a garlic press for the garlic instead of hand mincing them because I wanted them small. If you are a crazy professional mincer, then by all means, mince away. In the mean time, I'll be garlic-pressing. To zest the lemon you can use a microplane (shown above) or the small side of a cheese grater. Zest only the yellow parts - the white part gets bitter. And yes, I know, my thumb bends weird.
While your butter sauce is cooking, cook your chicken all the way through and slice into bite size pieces. Add the chicken to your sauce and let it cook in the sauce for a few minutes. This allows the chicken to soak up all the flavors and makes it oh-so-tasty. You could also use leftover chicken from a rotisserie or from chicken you have hanging out in your fridge. (C'mon, you know you have a chicken just hanging out, right?)
Next add the green onions, parsley, and salt and pepper. I use my kitchen shears (or whatever scissors are lying around) to cut my green onions. It's fast and easy. I also use my kitchen shears to cut lettuce and yucky parts off of meat (so I don't have to actually manhandle the meat with my bare hands), cut up pancakes and pizza for my kids, and about any other thing that I can find instead of using knives. Call me a genius. Call me lazy. Whatever.
Next add the lemon juice. Squeeze the lemon facing up so that the seeds don't fall in your sauce. If you find that your lemon is hard, you can zap it in the microwave for a few seconds to release the juices. Also, before you cut it, you can roll it back and forth really hard on your table to soften it up. Stir the lemon juice in. This is where I taste the sauce to see if I need to add more lemon, salt, or whatever. I always buy an extra lemon just in case I want to add more. Stir in the hot pasta (and here is where you would add the parmesan cheese too). Serve hot - although it's just as super tasty warm and also cold as leftovers the next day.

Lemon Herb Pasta with Chicken

1/2 C. butter (1 stick)
Grated zest of 1 lemon
2-6 large cloves of garlic, finely minced or pressed (I used four, Lindsay uses two or three)
1/2 tsp. hot red pepper flakes (optional, I didn't use it. Most of my kids are anti-spicy)
2 tsp. dried basil
2 tsp. dried oregano
1 fresh lemon (for juicing)
2 whole green onions, chopped
Salt and pepper to taste
1/4. C. flat leaf parsley or 2 tsp. dried parsley
1/4 C. shredded parmesan cheese, plus extra for serving
1 to 1 1/2 pounds chicken, seasoned to your liking, cooked, and sliced to bite size pieces
1 16oz. box of pasta (I used penne, but you can use whatever you have: rotini, gemelli, linguini, etc. You won't use the whole box, but most of it. I cook it all up and use the leftover pasta for lunch the next day with tomato sauce.)

Melt butter in large nonstick skillet over medium-high heat. Once melted, add garlic, basil, and oregano. Add cooked chicken, letting it soak up some of the butter sauce (that is the best part!). Then add parsley, green onions, and salt and pepper to taste. Stir in lemon zest and cook for several seconds, then toss with hot pasta and parmesan cheese. Squeeze the lemon (both halves) over the pasta. Serve at once with or without extra shredded cheese (but really, who doesn't love extra cheese!!) If you find you need to "stretch" your sauce to cover more pasta (like I did because I have a hungry husband and hungry kids) you can drizzle in some olive oil and add a little more lemon juice. Enjoy!

** I really love to wilt a bag of spinach or salad savoy into my pasta. Just add it to the chicken before you add the pasta to the pan. Let it wilt and then add your pasta. My picky kids eat it up because the spinach tastes like lemony garlic goodness!